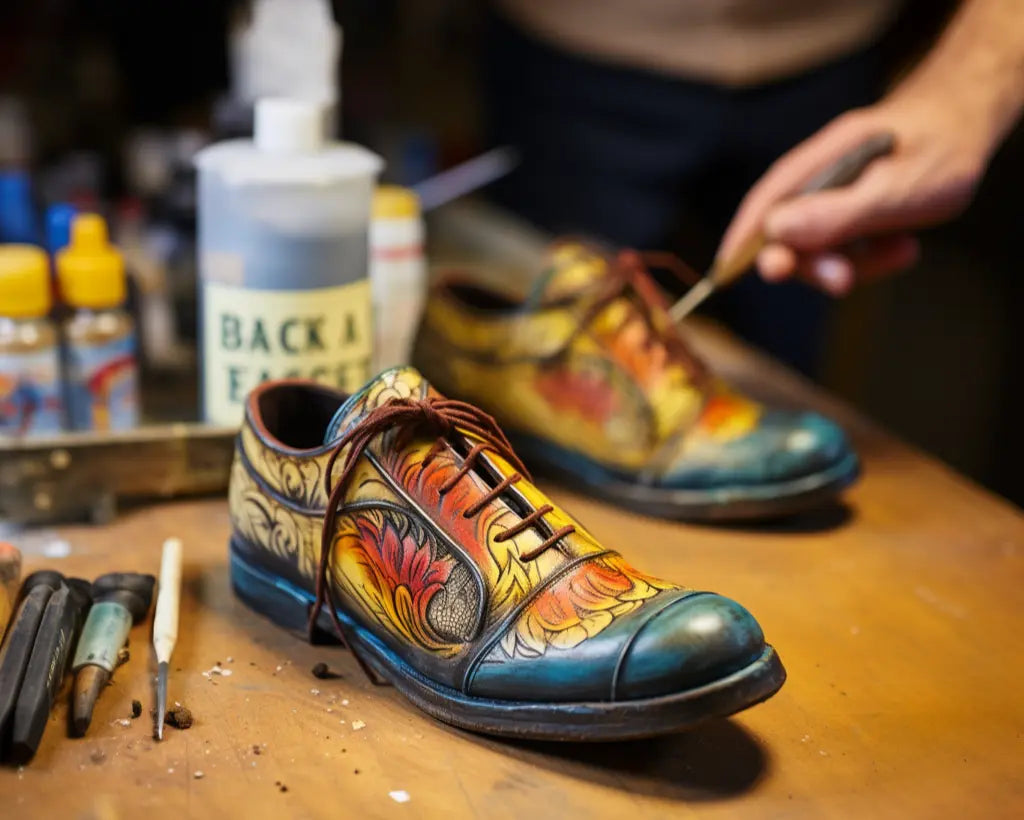
Hey there, fellow shoe enthusiasts! So, you've just finished creating a beautiful masterpiece on a pair of plain white sneakers, or perhaps you've revived an old pair with a vibrant burst of colors. Now, you want to make sure your hard work lasts and remains as vibrant as ever. That's where sealing your painted shoes comes in. In this article, we'll walk you through the essential steps and helpful tips to seal your painted shoes effectively and make them withstand the test of time and wear. Let's get started!
Understanding the Importance of Sealing Shoes
Before diving into the how-to, let's understand why sealing your painted shoes is so crucial. Sealing your painted shoes, such as custom leather shoes or sneakers, is the secret to preserving your artistic work and ensuring its brilliance lasts for years to come. Sealing not only enhances the durability of the paints but also acts as a protective barrier against dirt, water, and other external factors that could damage your artwork. It keeps the colors intact, preventing fading and chipping, and ensures your painted shoes remain vibrant and eye-catching for an extended period.
Painting custom shoes has become increasingly popular, and it's no wonder why! It allows you to express your creativity and style while transforming ordinary footwear into unique works of art. However, without proper sealing, your masterpieces might fade, crack, or peel, robbing you of the joy of your hard work.
Choosing the Right Shoe Paint and Shoes
Before diving into the painting process, it's crucial to choose the right type of paints and shoes for your project. Different shoe materials require specific types of paint to achieve the best results.
Smooth-surfaced shoes provide the best canvas for your artwork, so keep an eye out for shoes with minimal textures or patterns. Additionally, ensuring your shoes are clean and well-prepped before painting is vital for a smooth and even finish.
Gathering Your Materials
To begin the sealing process, you'll need a few essential materials. The good news is that these items are readily available, and you might already have some on hand. Here's what you'll need:
- Painted Shoes: Your fantastic painted shoes, of course!
- Acrylic Sealant: Look for a high-quality, water-resistant acrylic sealant designed for use on fabric or shoes.
- Paintbrushes: Soft-bristled brushes in various sizes will help you apply the sealant evenly.
- Masking Tape: This will come in handy for protecting any areas you don't want to seal, like the soles or certain design elements.
- Well-Ventilated Area: Choose a spot with good airflow for the sealing process.
- Old Newspapers or Cardboard: To protect your workspace from any potential drips or spills.
Preparing Your Shoes
Before applying the sealant, you'll want to ensure your painted shoes are clean and free from any dirt, dust, or debris. Follow these steps to prepare your shoes for sealing:
- Wipe Down: Gently wipe your painted shoes with a clean, damp cloth to remove any loose particles.
- Air Dry: Allow your shoes to air dry completely before proceeding to the next step.
Applying the Sealant
Now comes the exciting part - applying the sealant to protect your artwork. Follow these steps to get the best results:
- Test a Small Area: Before applying the sealant all over, it's a good idea to test a small, inconspicuous area to ensure it doesn't react adversely with your painted design.
- Start with Thin Coats: Use a soft brush to apply a thin, even coat of sealant over your painted shoes. Start with thin layers and let each coat dry completely before adding another.
- Pay Attention to Edges: Be meticulous when applying the sealant around the edges of your design to ensure full coverage.
- Allow Proper Drying Time: Patience is key! Give your shoes ample time to dry as per the manufacturer's instructions before proceeding.
Multiple Sealant Layers
For long-lasting protection, it's best to apply multiple layers of sealant. Here's how you can do it effectively:
- Sand Between Coats: Lightly sand the surface with fine-grit sandpaper between each coat to create a smooth surface for the next layer.
- Remove Dust: Wipe away any dust from sanding before applying the next coat.
Optional Waterproofing
For those seeking extra protection against water damage, we've got optional waterproofing techniques to share. These methods will safeguard your artwork and enhance the longevity of your painted shoes.
- Method 1 - Silicone Spray Sealant
Silicone spray sealant is a highly effective waterproofing method for painted shoes. It creates a protective barrier that repels water, preventing it from seeping into the shoe material and damaging the painted artwork. The sealant is designed to be lightweight and breathable, ensuring that the shoe's comfort and flexibility are not compromised.
- Method 2 - Beeswax Rub
Beeswax rub is a natural and eco-friendly method for sealing painted shoes and providing them with waterproof protection. Beeswax, a substance produced by bees, forms a protective layer over the painted surface, creating a barrier against moisture, dirt, and stains.
- Method 3 - Acrylic Finisher
Acrylic finisher is a specialized product used to seal and protect painted shoes, especially those done with acrylic paints. It forms a clear and durable coating over the painted surface, providing a waterproof and protective barrier.

Final Touches
Almost there! The final touches will ensure your sealed painted shoes are ready to hit the streets in style:
- Remove Masking Tape: If you used masking tape to protect certain areas, carefully remove it once the sealant has fully dried.
- Inspect for Imperfections: Take a close look at your shoes for any areas that might need a touch-up or an extra layer of sealant.
- Cure Time: Allow your shoes to cure for the recommended time before wearing them.
Before using the shoes, peel off the painters' tape carefully and use an acrylic sealer spray to prevent the paint from washing away. The spray will make the shoe waterproof and protect the design from getting damaged.
Tips for Maintenance of your Painted Shoes
Congratulations, your painted shoes are now sealed and ready to shine! To maintain their vibrant appearance and extend their lifespan, keep these tips in mind:
Regular Cleaning
Dirt and grime can accumulate on your shoes over time, so it's essential to clean them regularly. Use a soft brush or cloth to gently remove any debris.
Avoiding Harsh Conditions
While the sealant provides some protection, it's best to avoid exposing your painted shoes to extreme weather conditions or rough terrain to keep them looking their best.
Gentle Handling
Treat your painted shoes with care, just like any other piece of art. Avoid scraping or scratching the painted surface to prevent damage.
Touch-Ups
If you notice any small chips or faded areas over time, don't worry! You can perform touch-ups using the original paint and sealant to restore their beauty.
__________________________________________________
Key Takeaways
Sealing your painted shoes is a simple but essential step to protect your artwork and keep your designs looking fresh for years. With the right sealant and regular care, your custom-painted sneakers or boots can maintain their brilliance and durability. But if you’d rather skip the hassle of painting and go straight to creating a pair that’s uniquely yours, Shoe Zero has you covered. With our easy-to-use customizer, you can design your own custom shoes from start to finish. Whether you’re after performance-ready custom basketball shoes, everyday custom low tops, custom high tops, or custom boots, you’ll find the perfect canvas for your creativity. Prefer something more casual? Try our custom sandals. Shopping for little ones? Explore our fun and stylish custom kids shoes. And if you want to extend your creativity beyond footwear, don’t miss our full range of custom merch, including t-shirts, hoodies, and backpacks. Start designing today and step out with footwear that’s every bit as unique as your imagination.
FAQs (Frequently Asked Questions)
1. Can I use any sealant for my painted shoes?
Absolutely not! It's crucial to use a sealant specifically designed for fabric or shoes to ensure proper adhesion and protection.
2. How long does the sealant take to dry?
The drying time varies depending on the brand and type of sealant used. Refer to the manufacturer's instructions for precise drying times.
3. Can I wash my sealed painted shoes?
While the sealant offers some water resistance, it's best to avoid fully immersing your shoes in water. Instead, use a damp cloth for spot cleaning.
4. Will the sealant change the color of my design?
A high-quality sealant shouldn't alter the colors significantly. However, it's always a good idea to test a small area first to be sure.
5. Can I seal shoes with other types of paint?
Acrylic paint works best for sealing shoes. If you've used other paint types, check for compatibility before applying the sealant.
Co-Author: Danielle A.


